

So you’re a couple weeks out from your trip abroad, and you start realizing that you might need to pack just a bit more than you would on a short weekend trip across the country. Sure, you’ve got your passport and that’s still years away from expiring. You’re probably remembering you need to grab some of those outlet adapters so you can keep your iPhone charged abroad. And undoubtedly you’ll form a list of twice as many clothes as you’ll actually end up wearing (no knock, it’s just a fact of life).
But what about those travel tools that won’t pop into mind until you’re far away from domestic shores and in a brand new country? Through multiple trips abroad, I’ve developed a short list of “backpacking essentials” that you won’t see on every recommended packing list, but that will most definitely make your trip more comfortable, secure, and less frustrating as you hop around the globe.
Hidden Pocket:
Call me a tourist, or call me a nerd, but I think this is one of the best things you can invest in before going abroad. I’m not talking about one of those money belts that you wrap around waste or hang from your neck, I’m talking about a Hidden Pocket. Made by Rick Steves, I have brought this with me every time I’ve made a trek outside of North America.
Some people use money belts abroad for storing everything – from passports to credit cards to all of your cash. That’s fine, but I like to take a more casual approach, and one that doesn’t force me to whip out my Hidden Pocket every time I need to make a transaction. This flat, pocket-sized pouch loops on to your belt, then hangs right where your front pocket is at. This creates a non-intrusive space to store your most valuable wallet items in case you ever did get pickpocket abroad: extra cash, Eurail Pass, a spare debit or credit card, and most importantly, your passport. I still carry a wallet on me for easier access to immediate cash, but the peace of mind alone that the Hidden Pocket provides is worth the $15 price tag.
 Hidden Pocket |
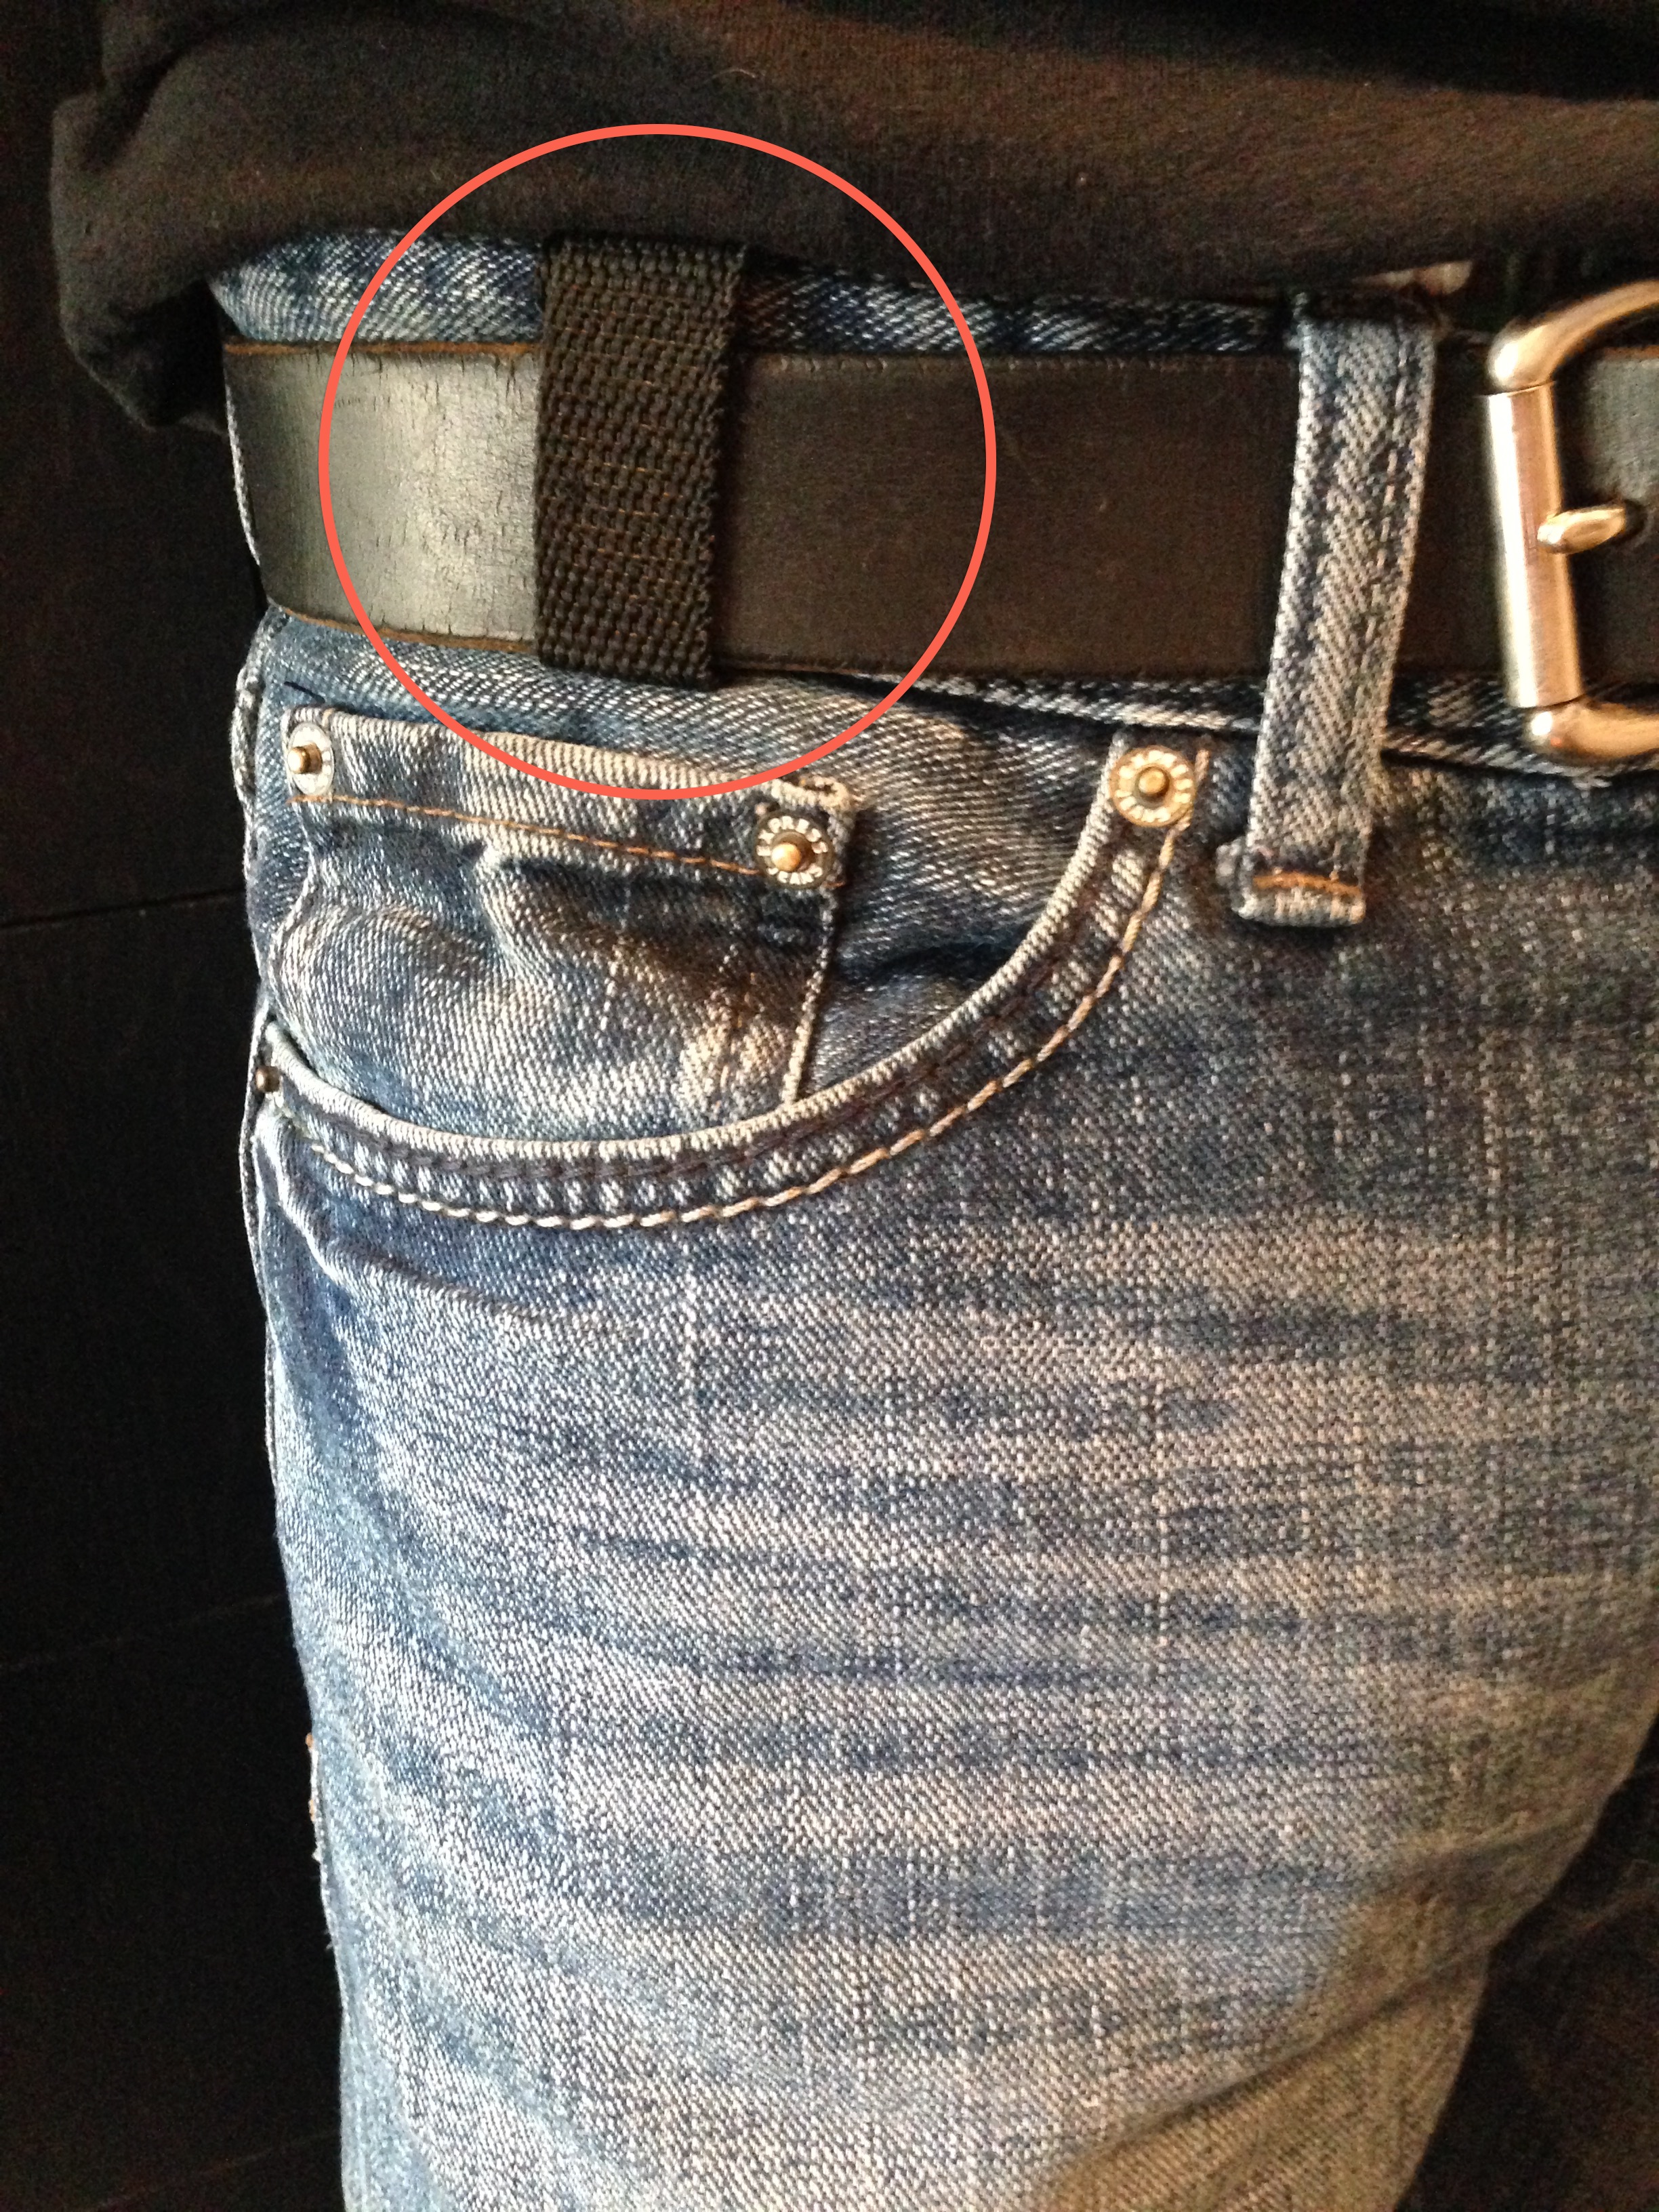 …subtly tucked away |
Extension Cord:
Wish you could plug in your laptop and charge your phone at the same time, but can’t because you brought one adaptor? Bringing a basic, 2-prong extension cord is a quick solution to that. Especially if you’re in a hostel or café where outlets are already at a premium, an extension cord with 3 outlets gives you close access for plugging in all of your devices, while freeing up wall outlets for other patrons.
Want a quick way to make friends in the hostel? Be the hero that allows your fellow traveler to plug into your spare outlet when all the others are taken!
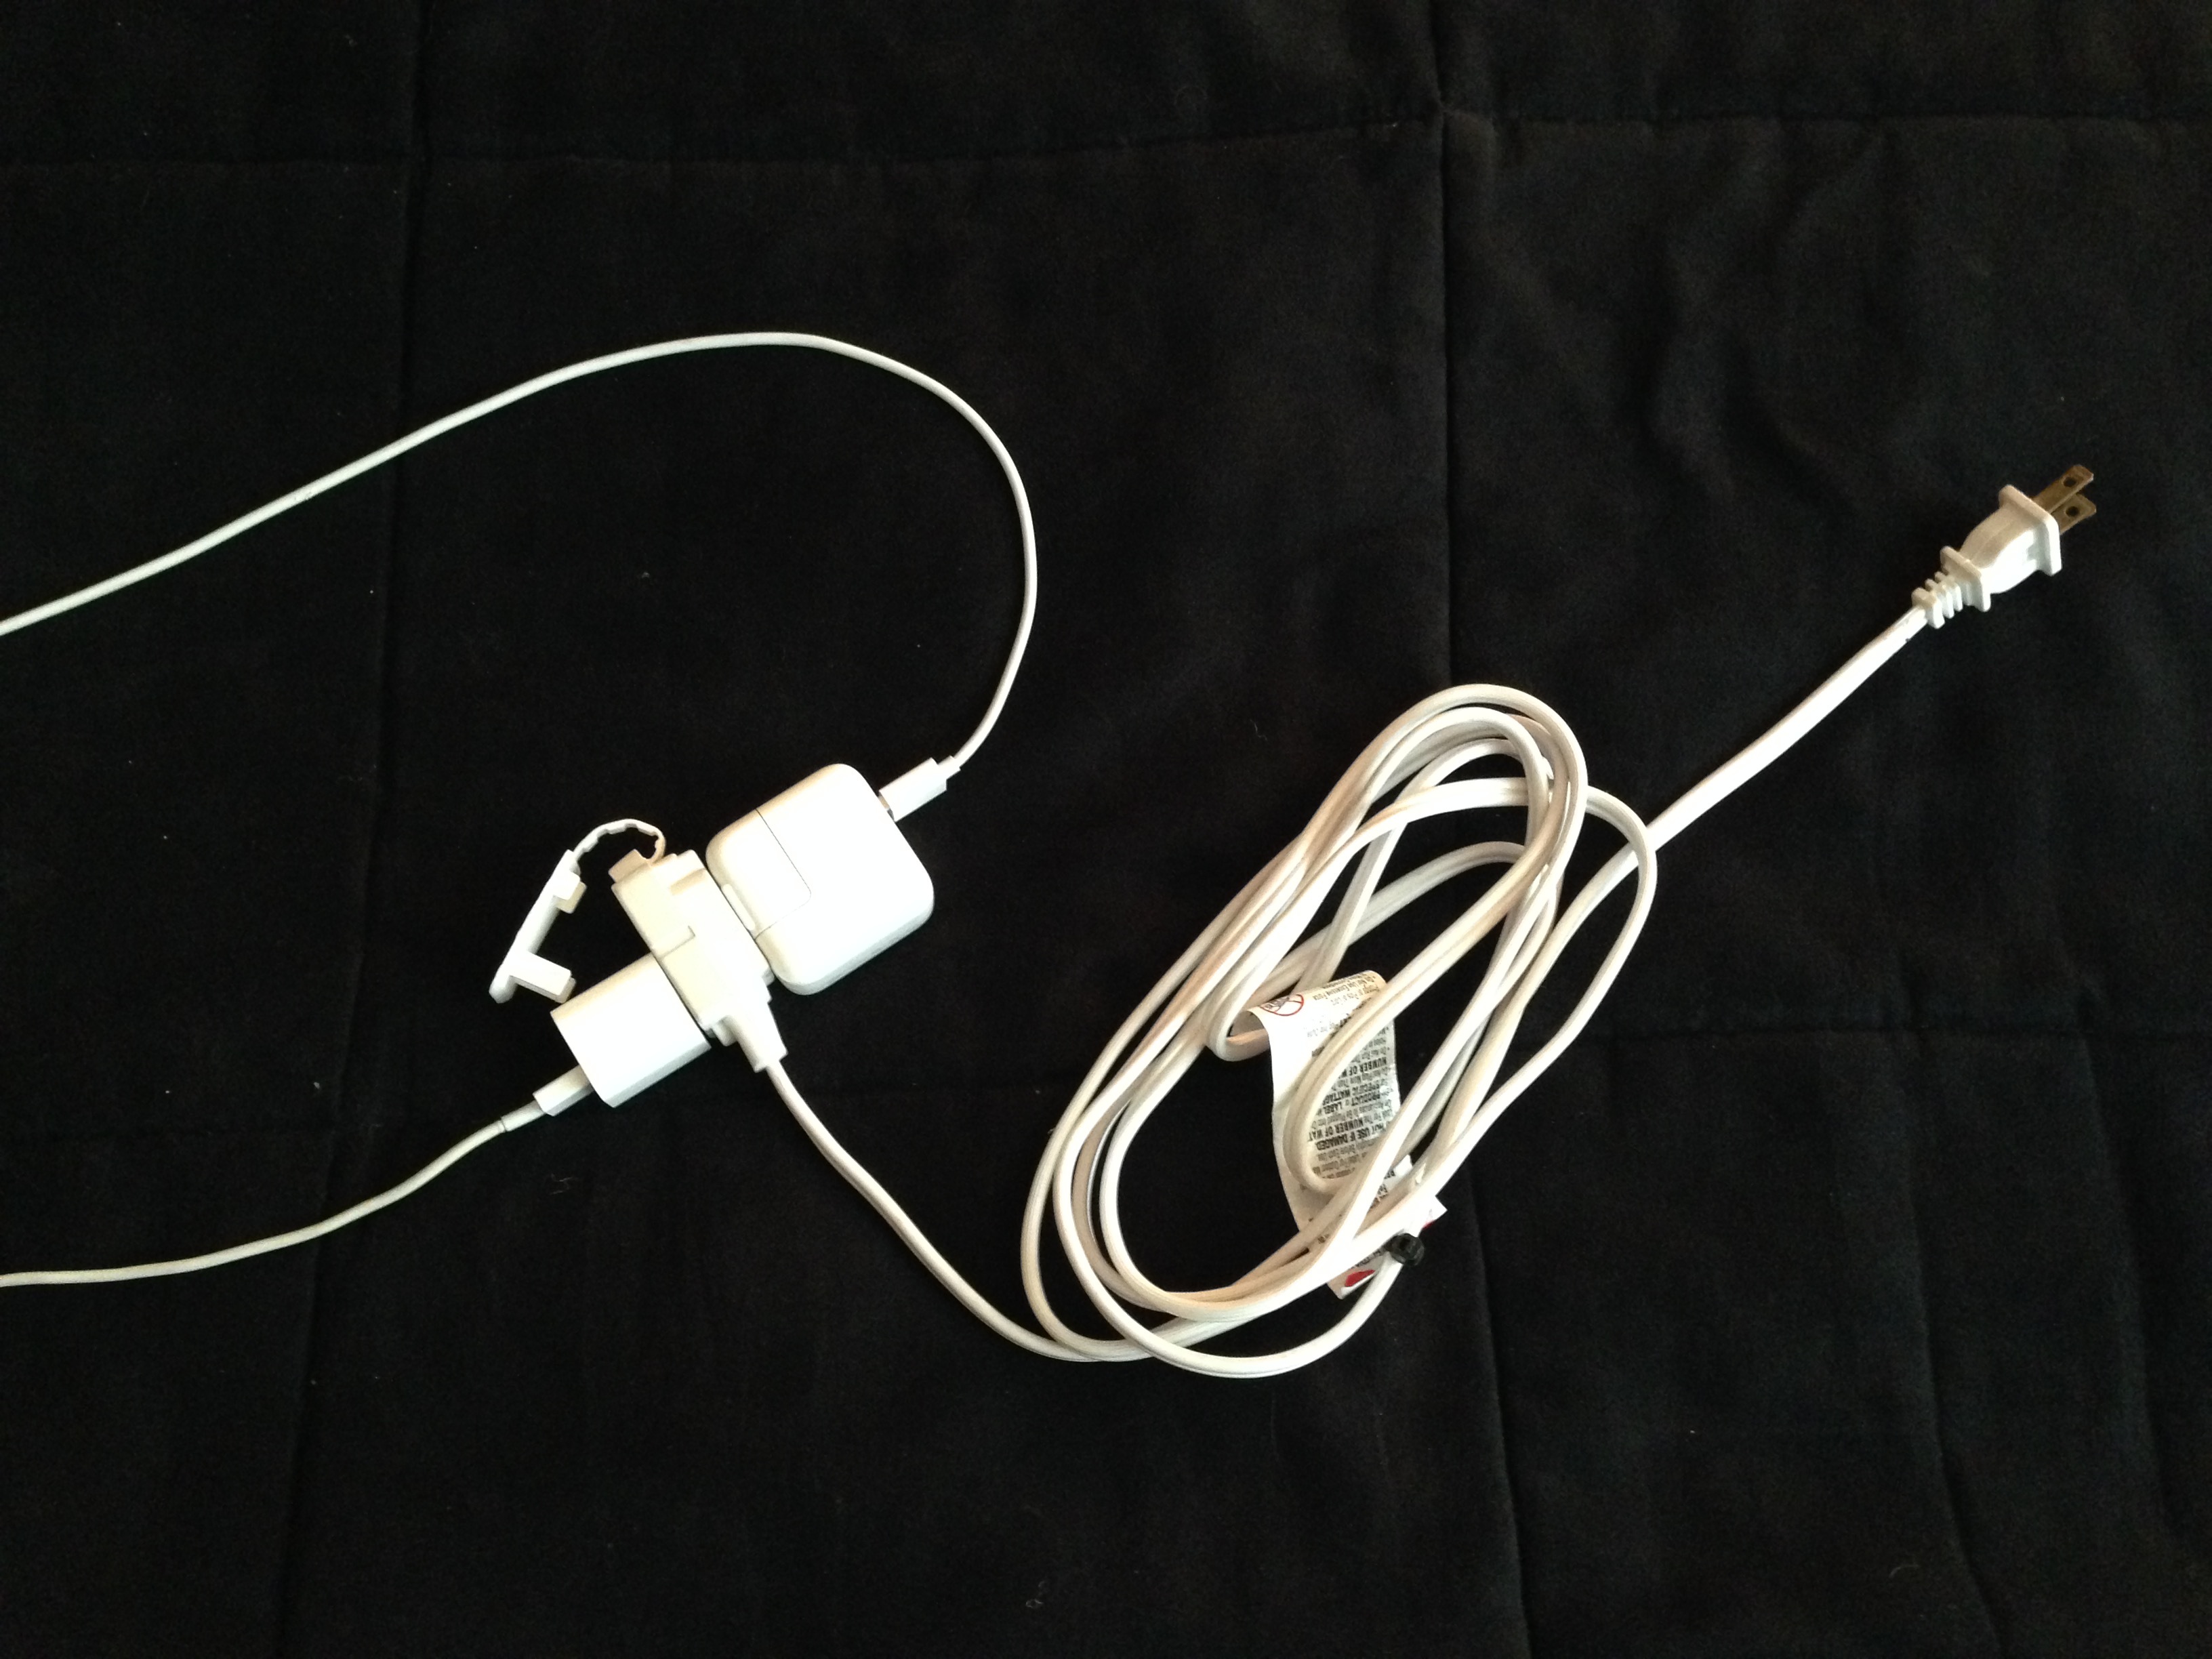
3-Outlet Extension Cord, 9 Feet
2 Different-Sized Locks:
You’ll be hard-pressed to find a hostel that doesn’t have individual lockers for its guests. If it doesn’t, that might be one of your first signs that you want to look elsewhere for a place to stay…
The lock situation is something I never would have thought of until experiencing it first-hand in Barcelona. Now, I prefer a regular-sized padlock because it fits most lockers and I don’t need to worry about carrying or losing a key. However, some hostels like to sneak up on you with a latch that is just too small for a padlock to fit through. I always carry a small lock for those scenarios, just in case, though those flimsy things don’t quite give me the same piece of mind as a padlock. Regardless, if you’re staying in a legit, well-regarded hostel and you’re careful with your stuff, the likelihood of running into any issues is slim-to-none.
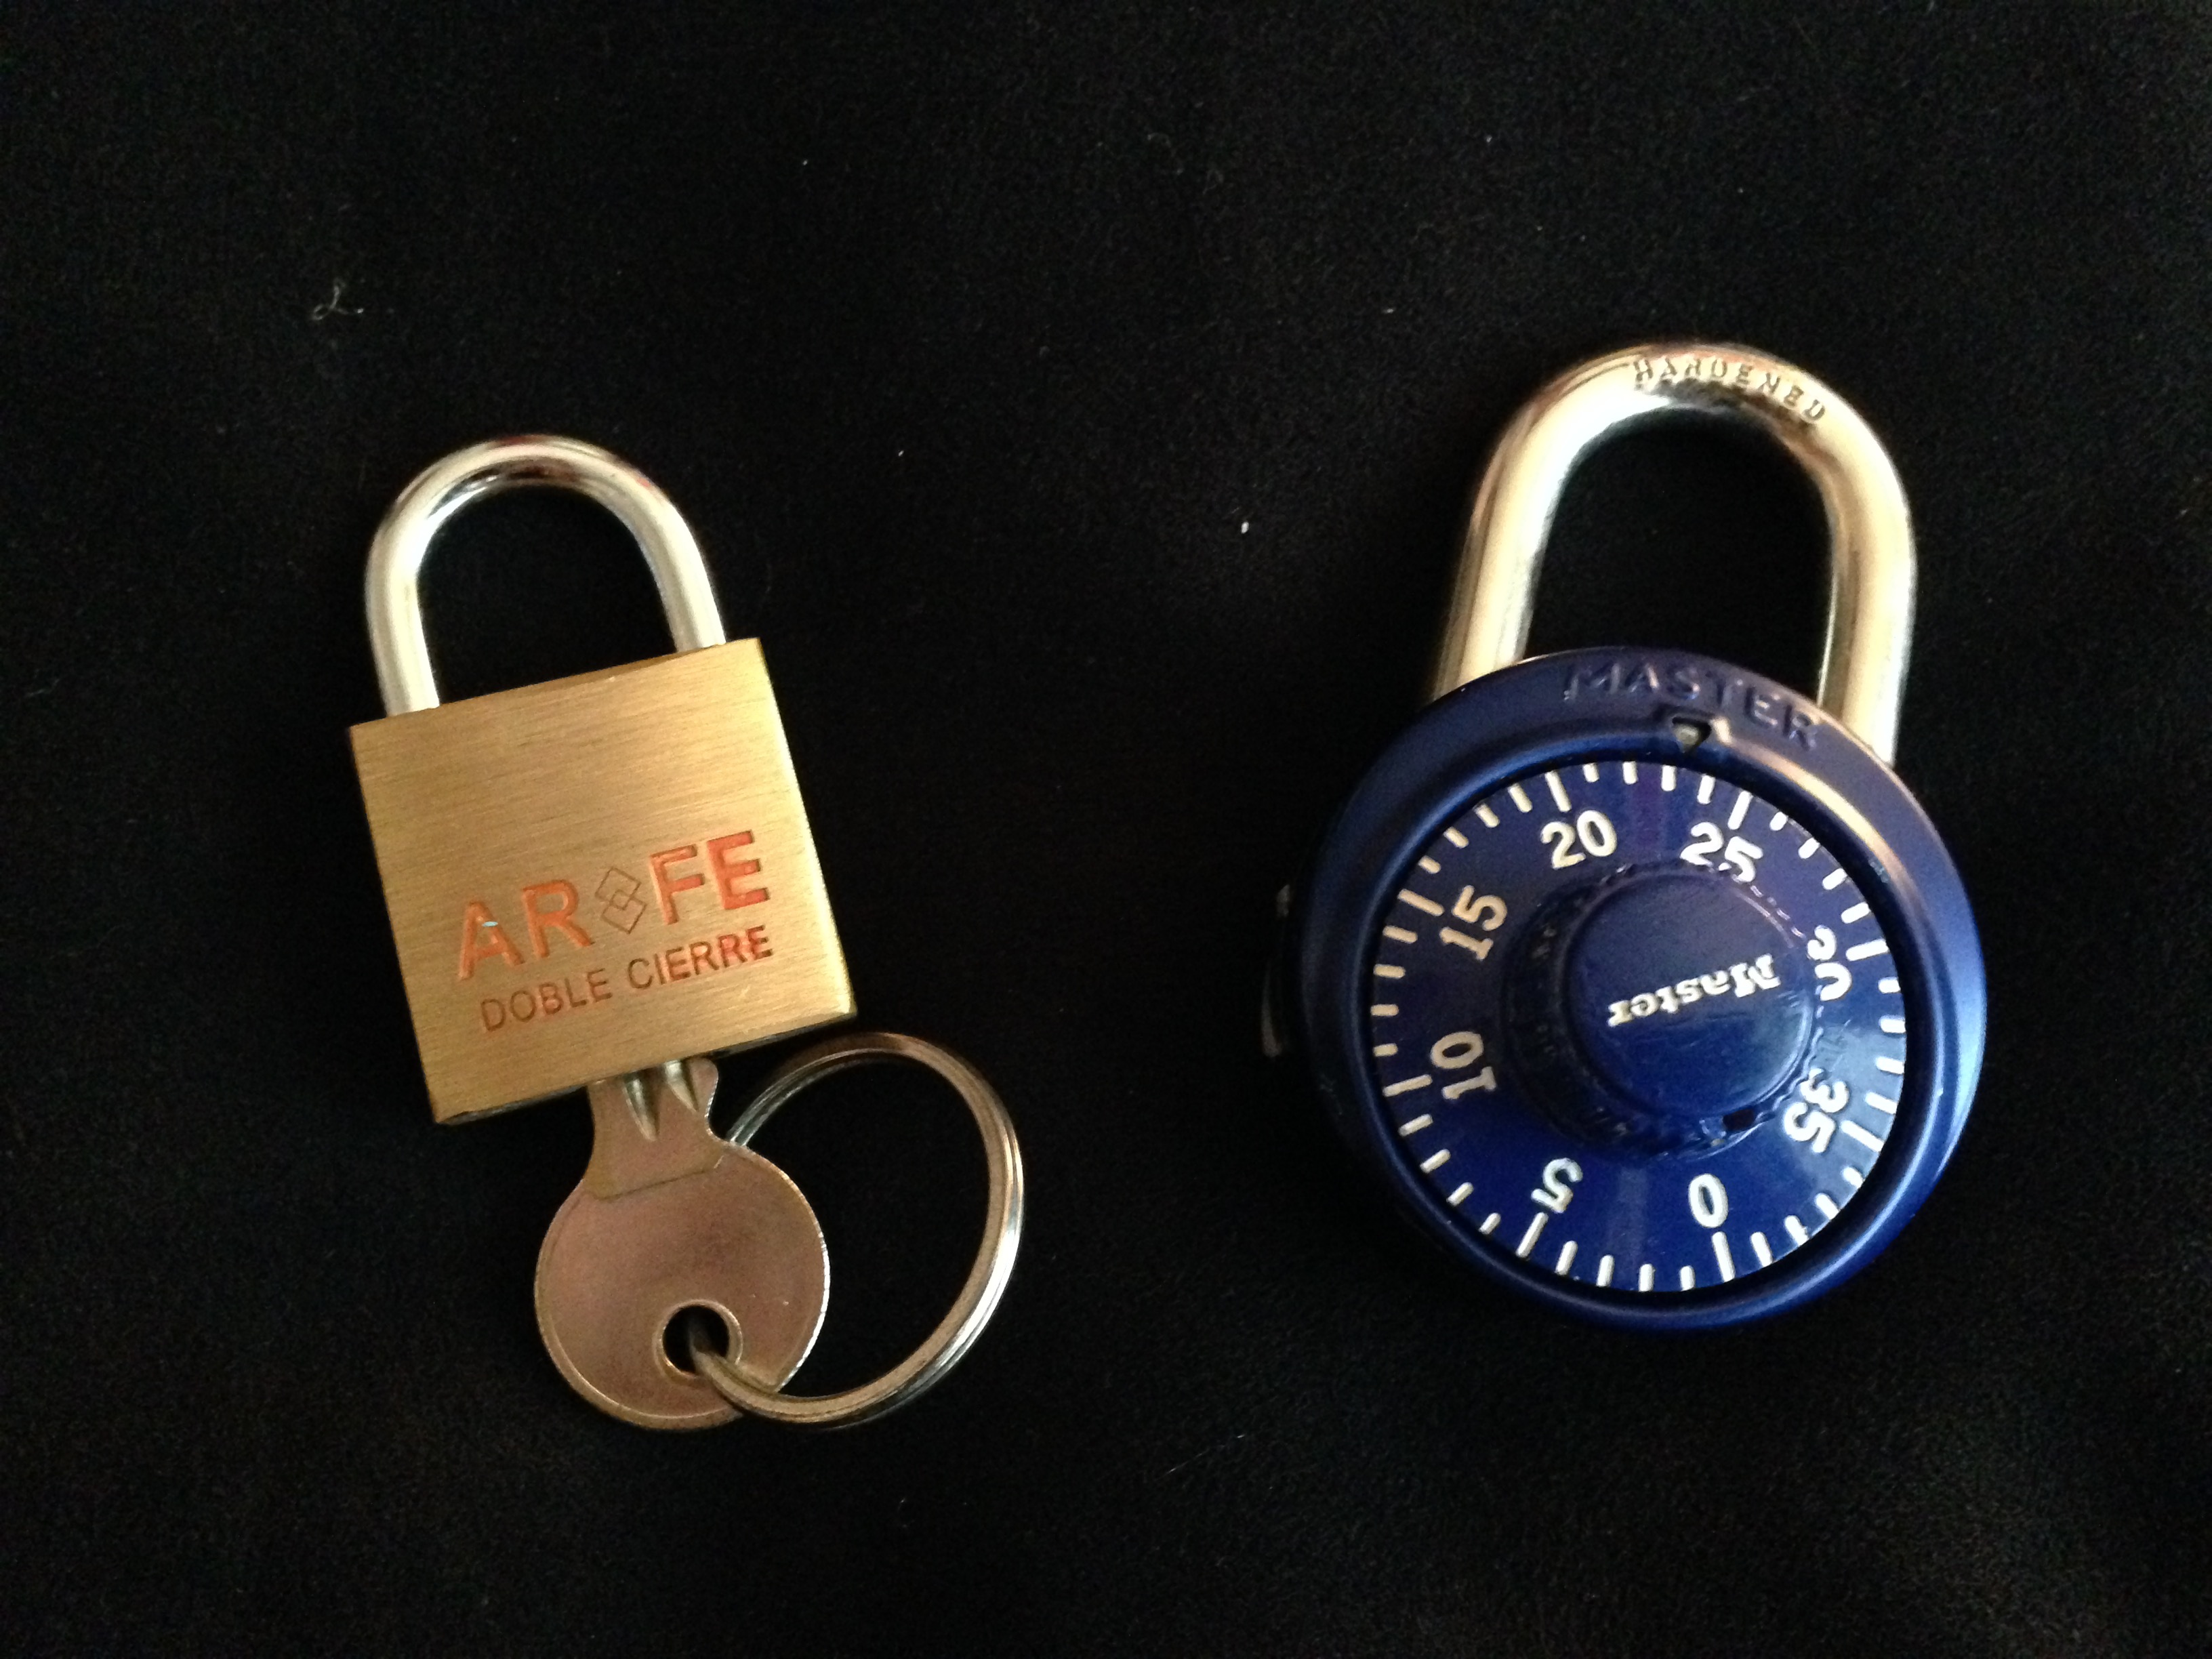
Bring 2 locks with different sized shackles
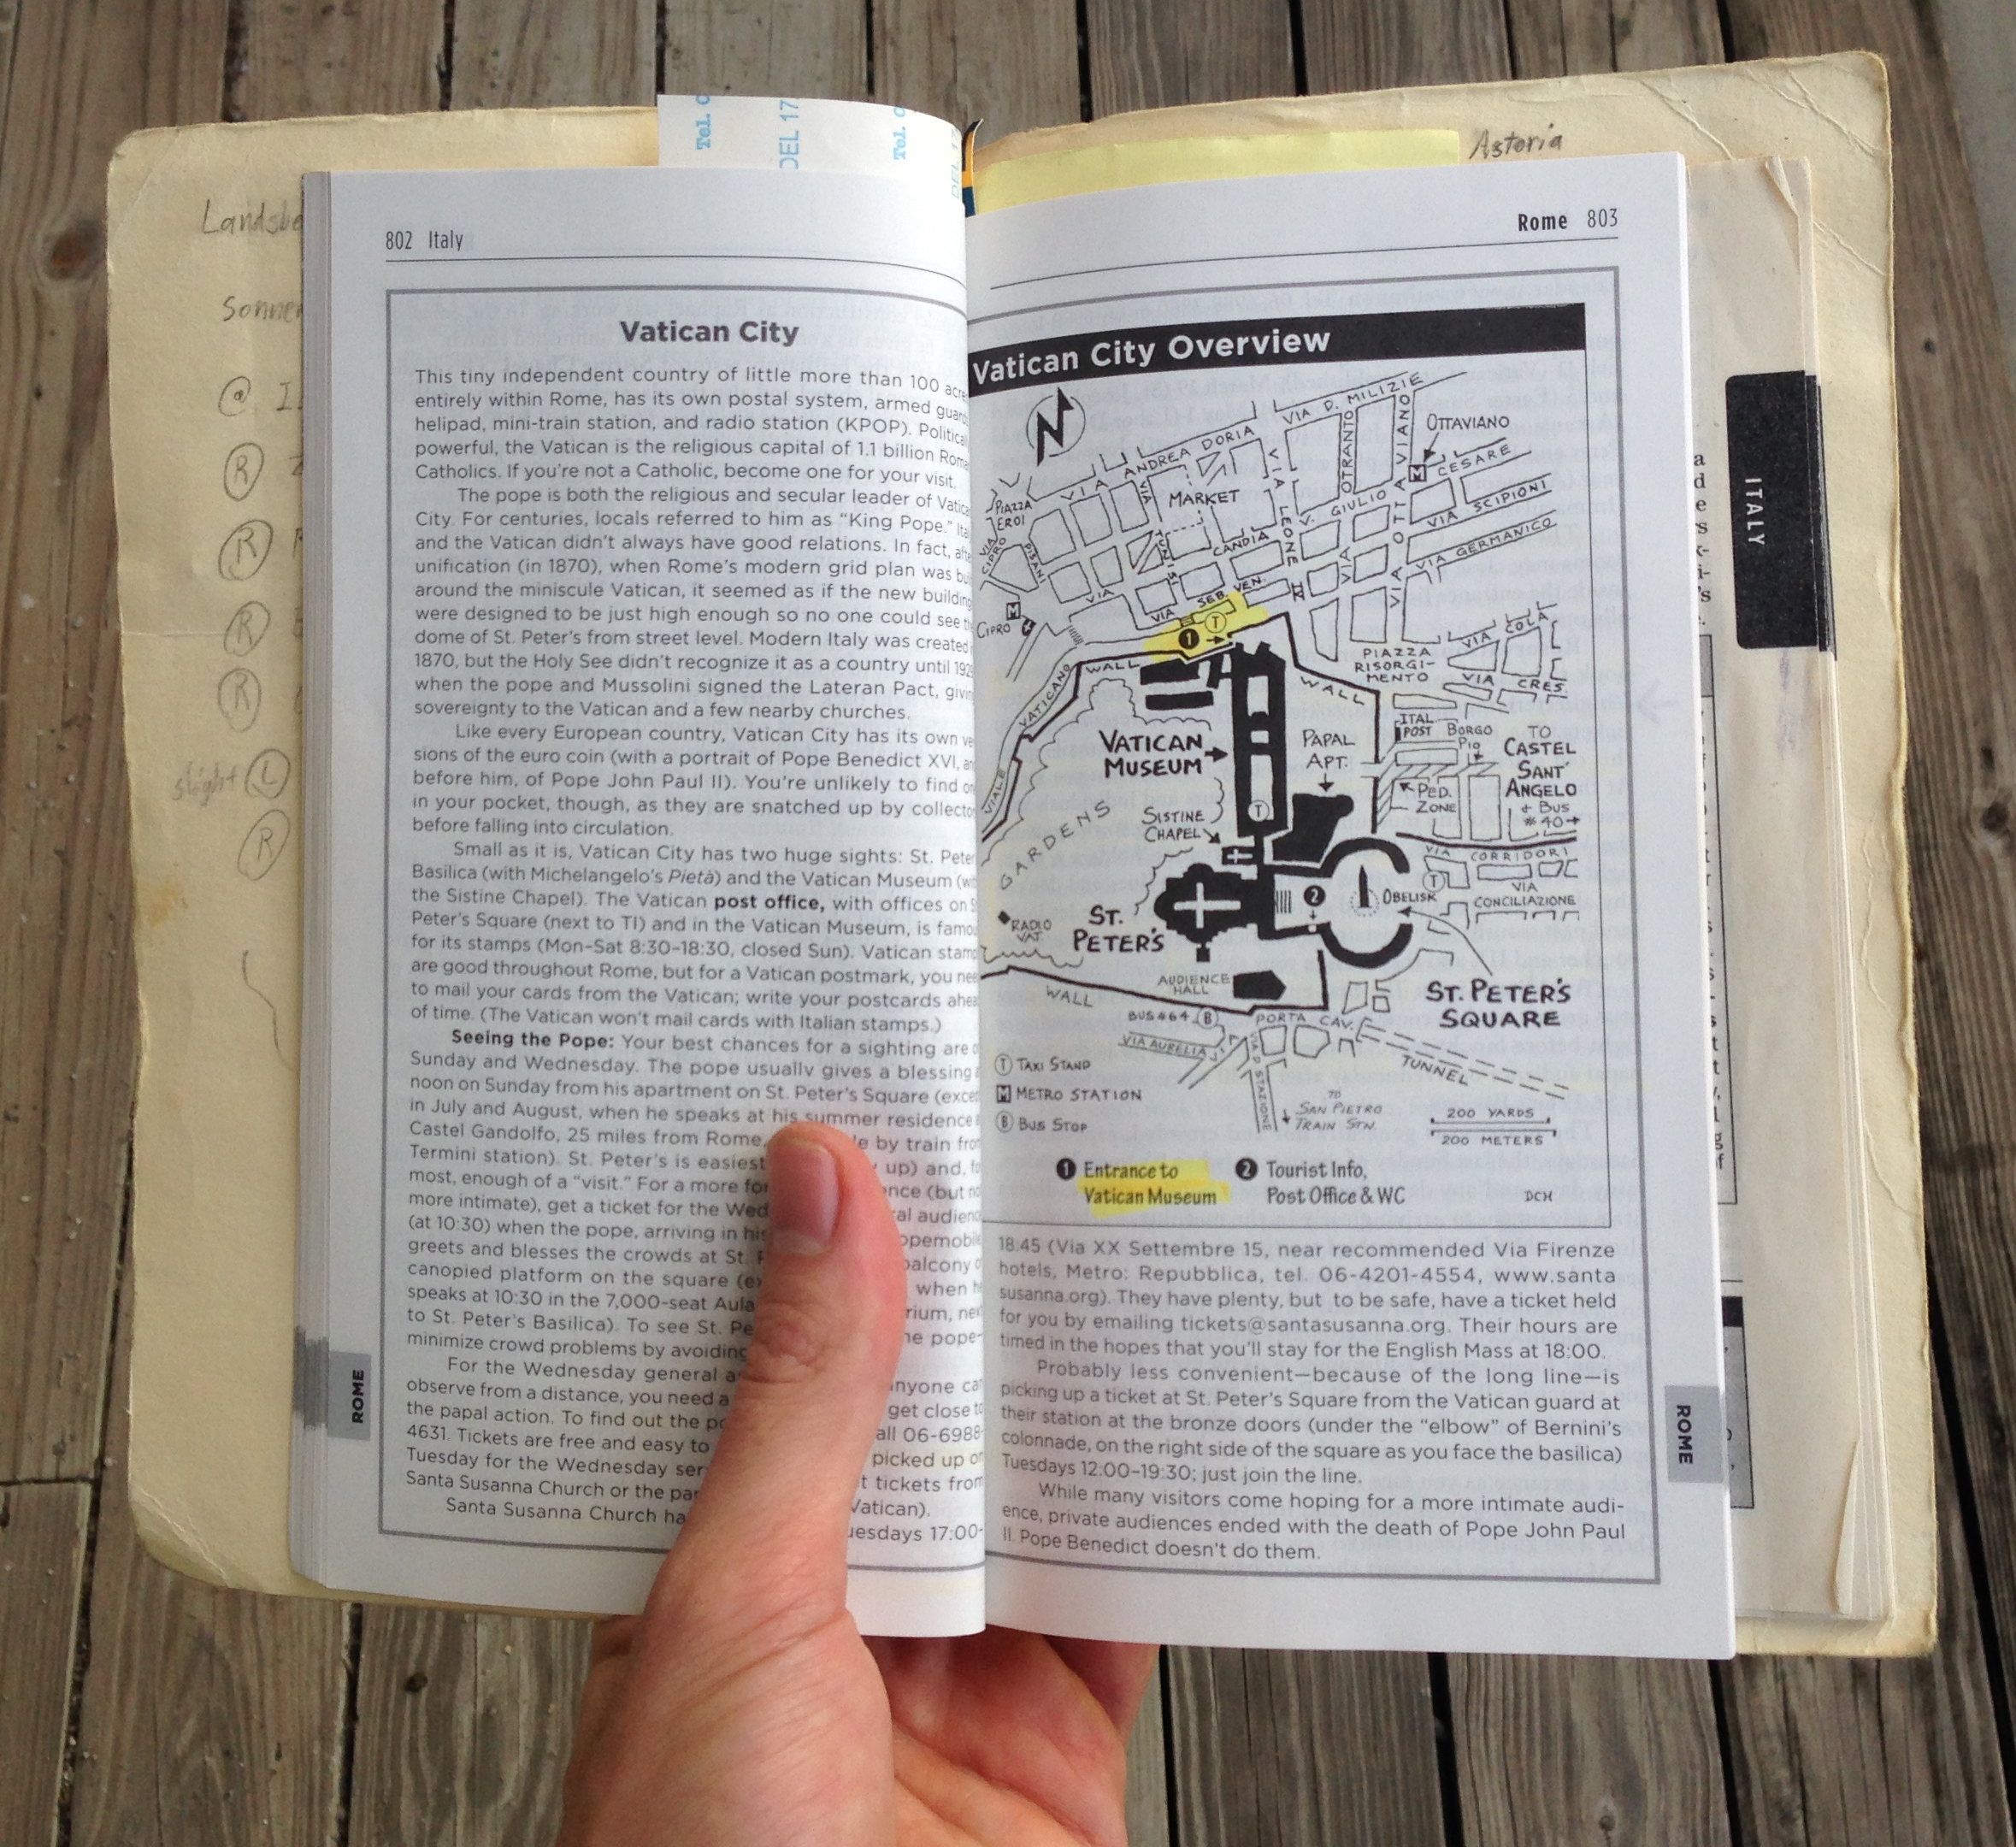
“Homemade” Guidebooks:
If you’re going to be spending time in 3 or more locations, I definitely recommend slicing up your guidebooks to make custom, mini-guidebooks of each destination. I first did then when backpacking around Europe, and it not only lightened my load, but made me look like far less of a tourist than I would have otherwise.
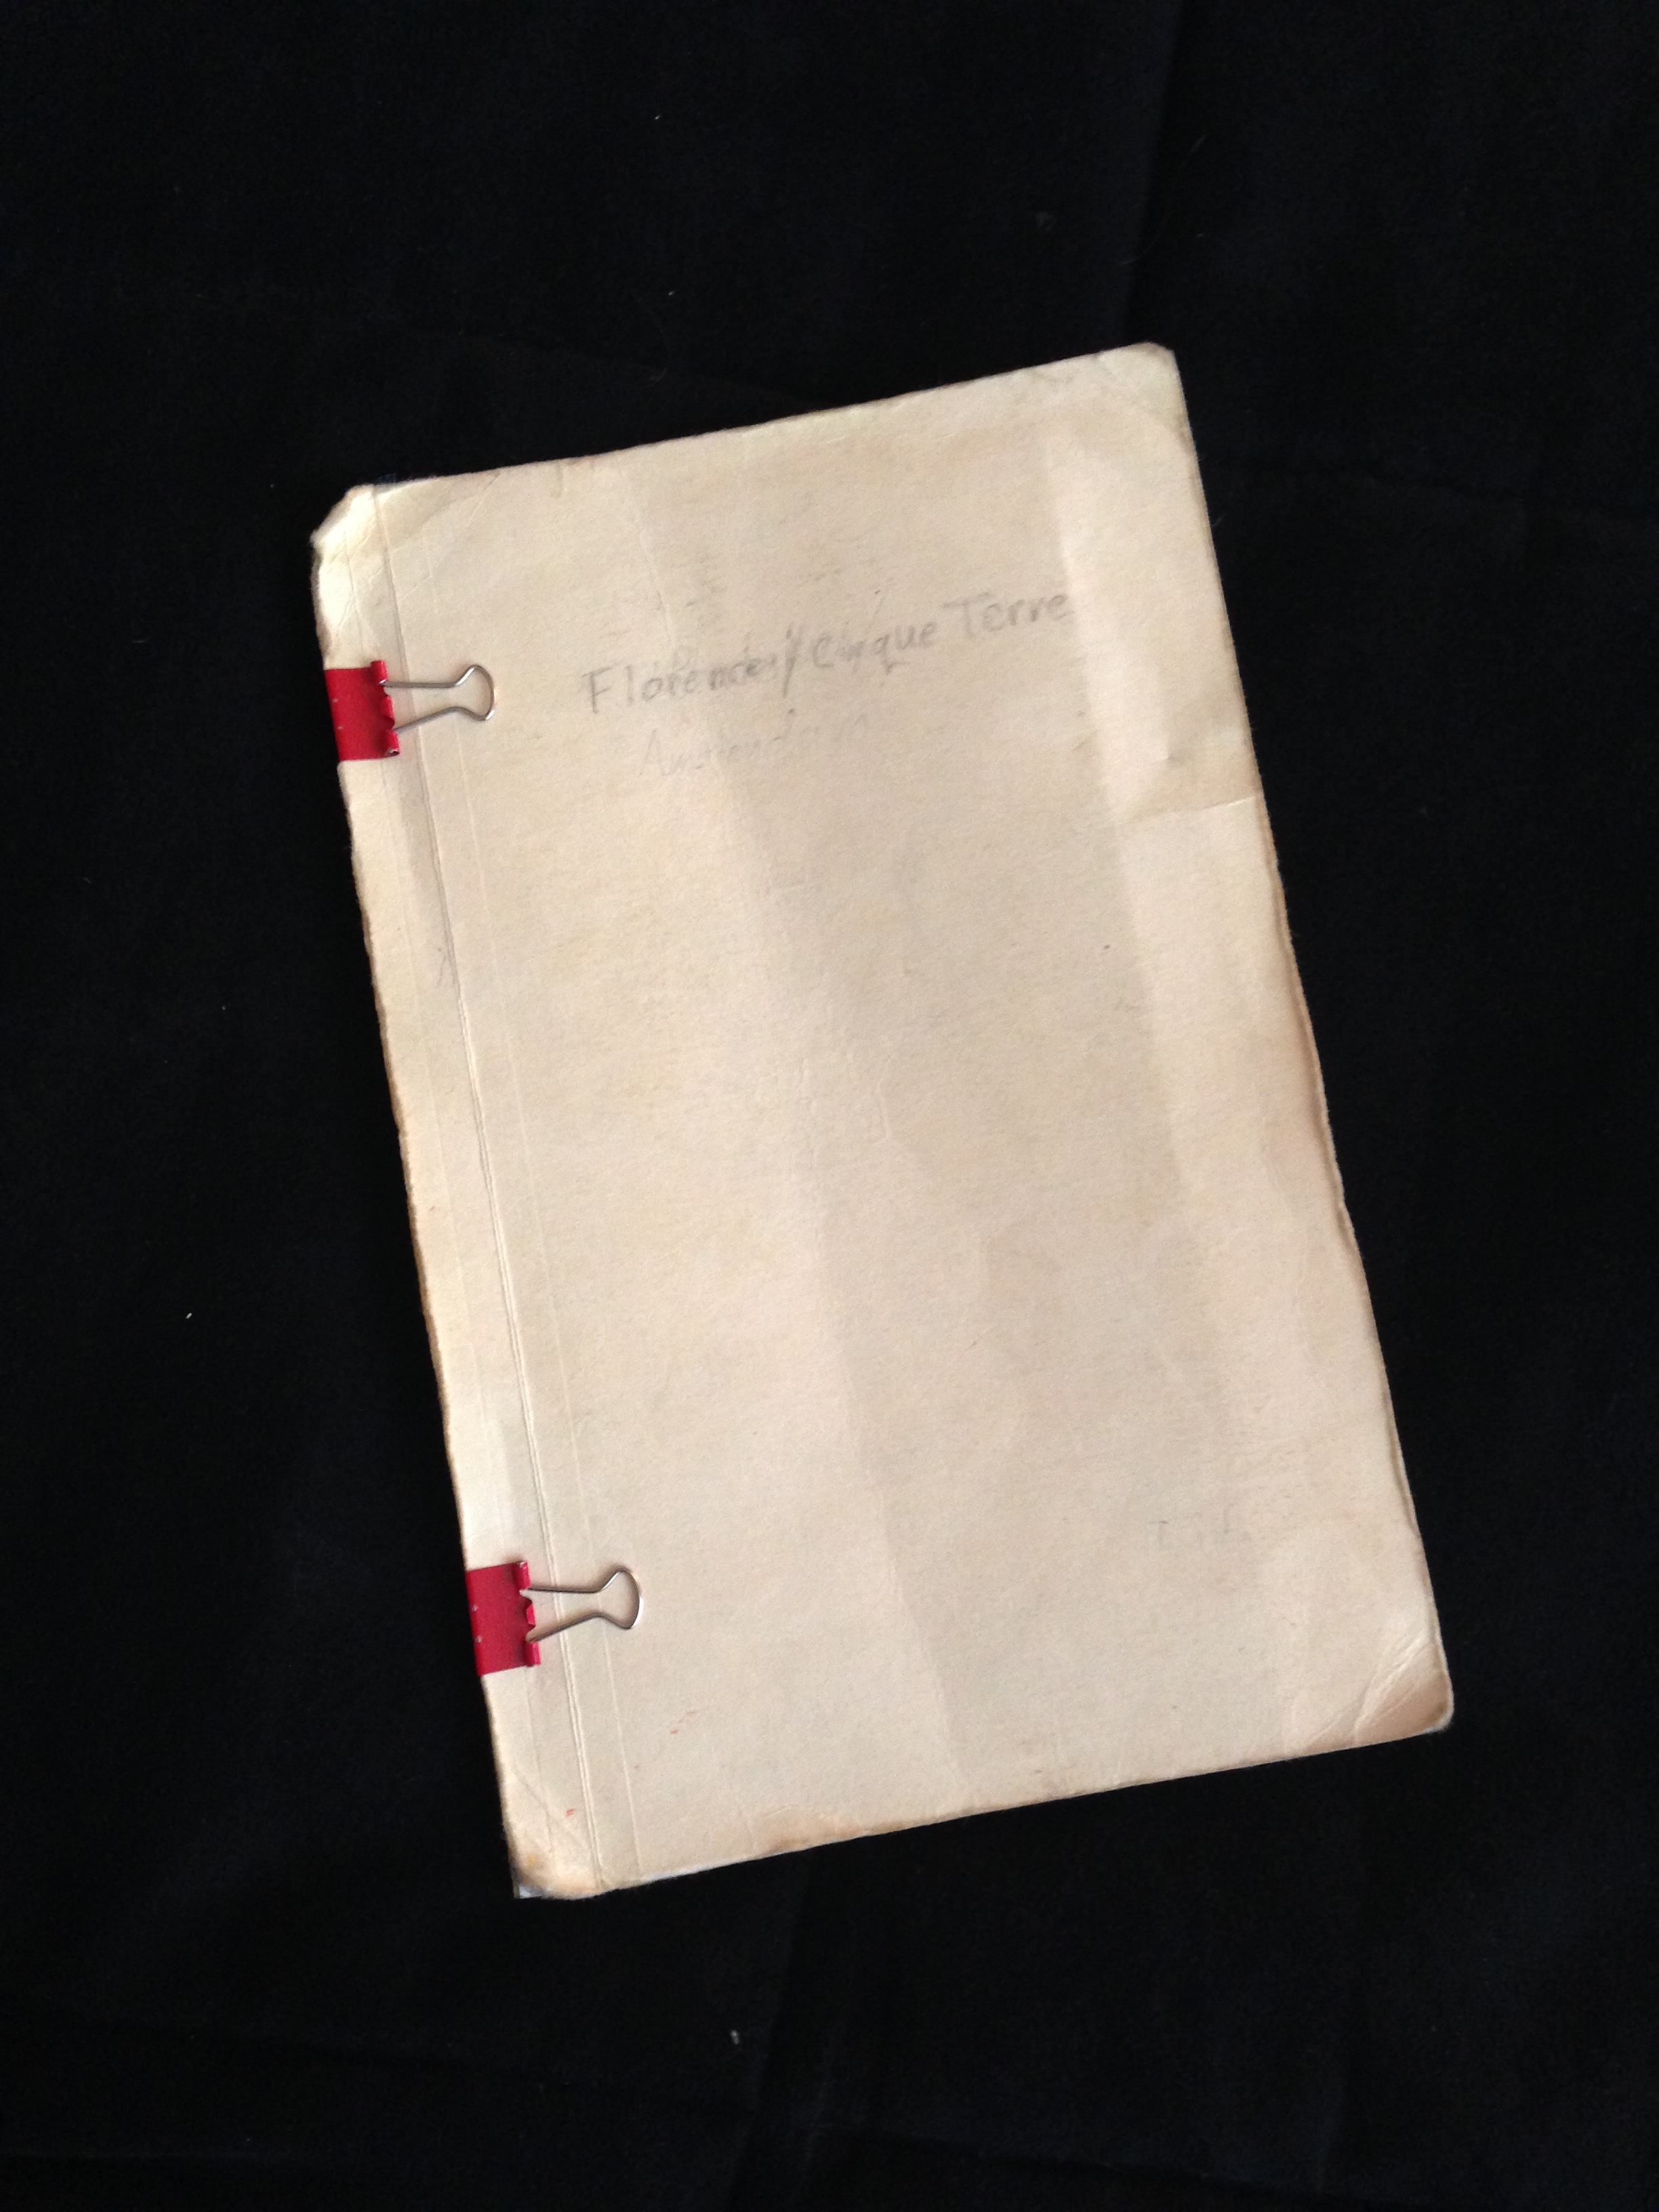
A durable guidebook cover, cut down to size
What you’ll need:
-Your guidebook
-An X-ACTO knife
-Scissors
-(2) file folders, cut into rectangular quarters
-(6) ¾” binder clips
With these supplies in-hand, you can cut out the individual sections of each guidebook, place them in a sturdier “cover” using the file folders (this prevents the loose pages from falling apart), and finish it off with (2) binder clips, and vuala! You now have a subtle, lightweight guide for the place you are visiting. This is especially helpful if you want to utilize 2 guides for a particular destination, say, a Rick Steves guide for the walking tours and historical destinations, mixed with the hostel and nightlife recommendations more frequently found in a “Let’s Go!” guide.
You’ll look slightly less obvious when you pull this “guidebook” out in a crowd